
There’s something timeless about a wave. It’s calm and powerful at the same time—just like the ocean lovers who choose it as a tattoo. Tiny wave tattoos are especially popular because they feel personal, subtle, and full of meaning without overwhelming the skin.
Whether you’re sketching for yourself, designing flash art, or planning your first ocean-inspired tattoo, this guide will walk you through how to draw tiny wave tattoos that feel balanced, clean, and meaningful.
Understand the Meaning Behind Tiny Wave Tattoos
Before putting pencil to paper, it helps to know why wave tattoos matter. For ocean lovers, a small wave can represent more than just water.
Tiny wave tattoos often symbolize:
- Freedom and movement
- Emotional strength and resilience
- A love for travel and coastal life
- Calmness mixed with quiet power
Keeping this meaning in mind helps guide your design choices. Soft curves feel peaceful. Sharper crests feel bold. Even the thickness of the line can change the mood.
Think about the feeling you want the wave to give—gentle, energetic, or meditative.
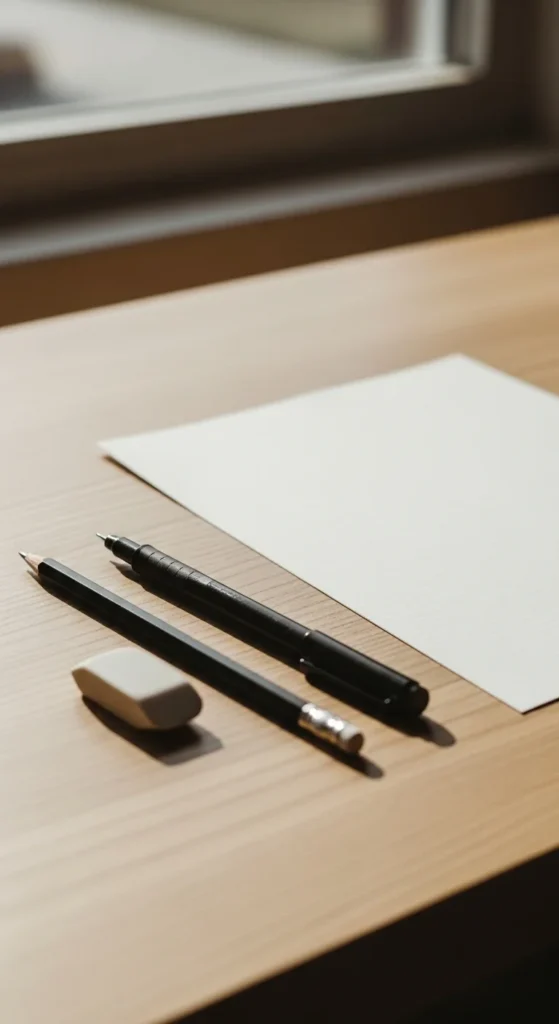
Gather Simple Tools for Clean Lines
You don’t need a full art studio to draw great tiny wave tattoos. Simplicity works best.
Basic tools to start with:
- Pencil (HB or mechanical for light sketching)
- Fine liner or gel pen for clean outlines
- Smooth sketch paper or tracing paper
- Eraser with a sharp edge
Tiny tattoos rely on precision, so neat tools matter more than fancy ones. Avoid thick markers at this stage—they can make small designs feel heavy.
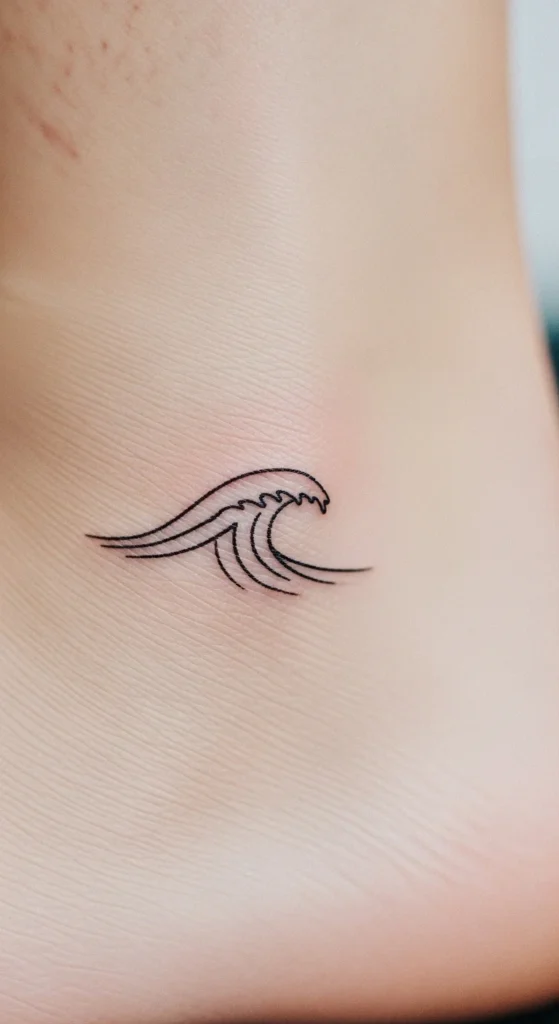
Start With a Basic Wave Shape
Tiny wave tattoos look best when they’re simple. Start with a single flowing motion rather than detailed water textures.
Here’s an easy way to sketch a wave:
- Draw a small curved line like a loose “S”
- Add a rounded crest at the top
- Let the tail taper gently instead of stopping abruptly
Avoid sharp corners. Waves should feel like they’re moving even when frozen on the skin.
If your wave looks stiff, redraw it faster. Quick strokes often feel more natural than slow, careful ones.
Keep Proportions Small and Balanced
Because the tattoo is tiny, every millimeter matters. Oversized crests or long tails can throw off the whole design.
Tips for balance:
- Keep the crest slightly higher than the tail
- Avoid adding too many inner lines
- Leave breathing space around the wave
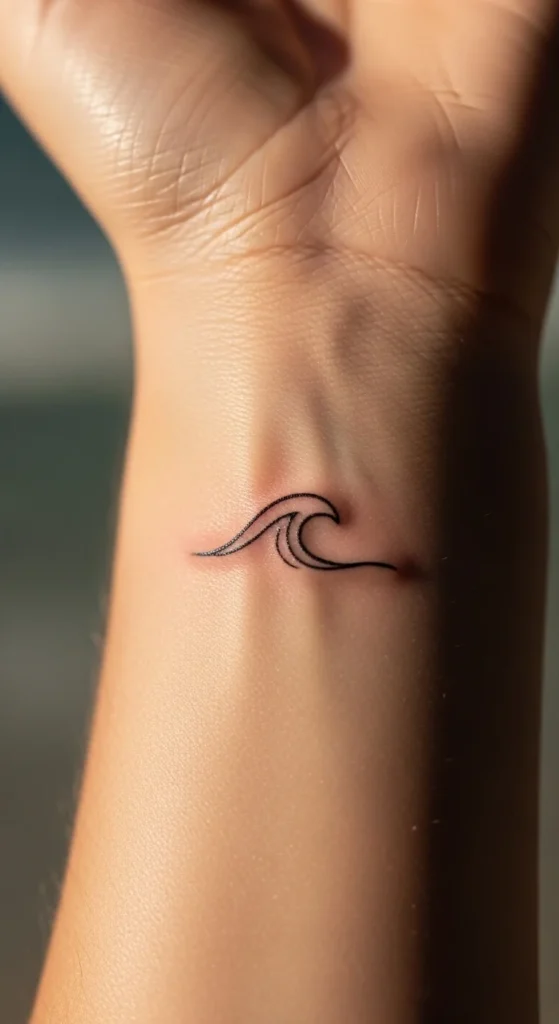
Tiny wave tattoos often sit on:
- Wrists
- Ankles
- Behind the ear
- Fingers or collarbone
Visualize the placement while you draw. A wave meant for a finger should be simpler than one designed for a forearm.
Choose the Right Line Style
Line style can completely change the look of a tiny wave tattoo.
Popular styles include:
- Single-line waves for ultra-minimal designs
- Fine outline waves for a clean, modern look
- Soft thick-to-thin lines for movement and flow
Avoid shading in very small designs. It can blur over time and reduce clarity. Clean outlines age better and stay readable.
If you want detail, focus on the silhouette rather than texture.
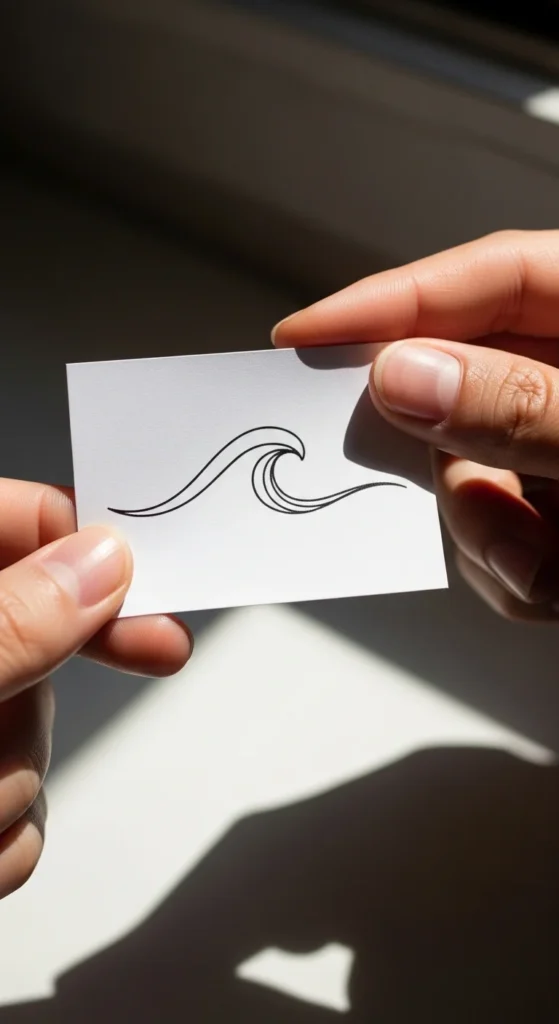
Test Your Design at Actual Tattoo Size
A design that looks great on paper might not work once it’s tiny.
Before finalizing:
- Shrink your drawing to actual size
- Print or trace it small
- Step back and check clarity
If the wave still reads clearly from a short distance, you’re on the right track. If it disappears or looks messy, simplify again.
Add Personal Touches Without Overcomplicating
Tiny wave tattoos shine when they’re personal—but not busy.
Simple ways to personalize:
- A subtle dot beneath the wave
- A tiny sun or moon nearby
- A second mini wave for balance
Stick to one accent at most. The wave should remain the star.
Remember, minimal doesn’t mean boring—it means intentional.
Final Thoughts: Let Your Wave Tell a Story
Drawing tiny wave tattoos is about capturing emotion in the smallest space possible. With smooth lines, thoughtful proportions, and a clear intention, even the simplest wave can feel powerful and deeply personal.
Take your time, sketch freely, and don’t be afraid to redraw until it feels right. Every ocean lover has a different relationship with the sea—and your wave design should reflect that.
Save this guide for later, and let your next tiny wave tattoo flow naturally from your creativity.

Leave a Reply