
Arrows are one of those designs that never feel outdated. Clean, meaningful, and endlessly adaptable, arrow tattoos speak to movement, purpose, and personal growth. Whether you’re sketching for fun, planning your first tattoo, or refining a minimalist style, learning how to draw simple arrow tattoos is a great place to start.
In this guide, we’ll walk through everything you need to know—from understanding symbolism to drawing crisp lines that translate beautifully to skin. No art degree required.
Why Arrow Tattoos Are So Meaningful
Before you draw, it helps to know why arrows matter. Even the simplest arrow carries a story.
Common meanings include:
- Direction & purpose – moving forward in life
- Protection – inspired by traditional tools and weapons
- Strength through struggle – pulled back before release
- Journey & progress – a reminder not to stay stuck
Because arrows are visually simple, the meaning often feels stronger and more personal. That’s why they work so well as minimalist tattoos.
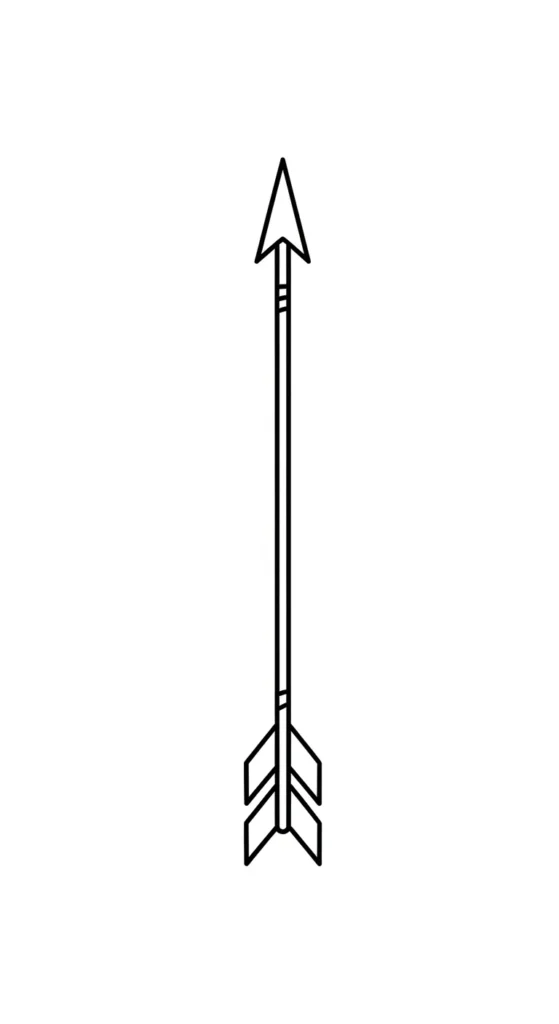
Start With the Basic Arrow Shape
Every arrow tattoo—no matter how creative—starts with the same foundation.
Begin with:
- A straight guideline
Use a ruler or steady freehand line. This is the arrow’s spine. - The arrowhead
Draw a small triangle or V-shape at one end. - The tail (fletching)
Add two short diagonal lines or tiny feathers at the opposite end.
Tips for beginners:
- Keep your lines light at first
- Focus on balance, not decoration
- Simplicity beats detail in tattoo design
Choose a Direction That Matches the Meaning
The direction your arrow points can change the message completely.
Popular directions and their symbolism:
- Upward – growth, ambition, hope
- Forward (right) – moving on, new chapter
- Left – reflection, learning from the past
- Downward – grounding, peace, stability
When sketching, rotate the arrow and see how it feels. Tattoo designs are emotional as much as visual.
Quick tip:
If you’re designing for the wrist, ankle, or collarbone, test how the arrow looks when the body moves.
Keep Lines Clean and Tattoo-Ready
What looks good on paper should also look good on skin.
To achieve that:
- Use consistent line thickness
- Avoid tiny details that may blur over time
- Close all shapes cleanly (no gaps)
Once your pencil sketch feels right, trace it with:
- A fine liner pen
- Or a digital brush if working on a tablet
This step turns a sketch into a tattoo-ready design.
Add Simple Details Without Overcomplicating
You don’t need elaborate shading or patterns. Small touches go a long way.
Easy additions that stay minimalist:
- A dot beneath the arrowhead
- A broken line for a journey theme
- A tiny heart or star integrated into the shaft
- Double-line arrows for subtle depth
Less is more. If you’re unsure, remove one detail and look again. Simple arrow tattoos shine because of restraint.
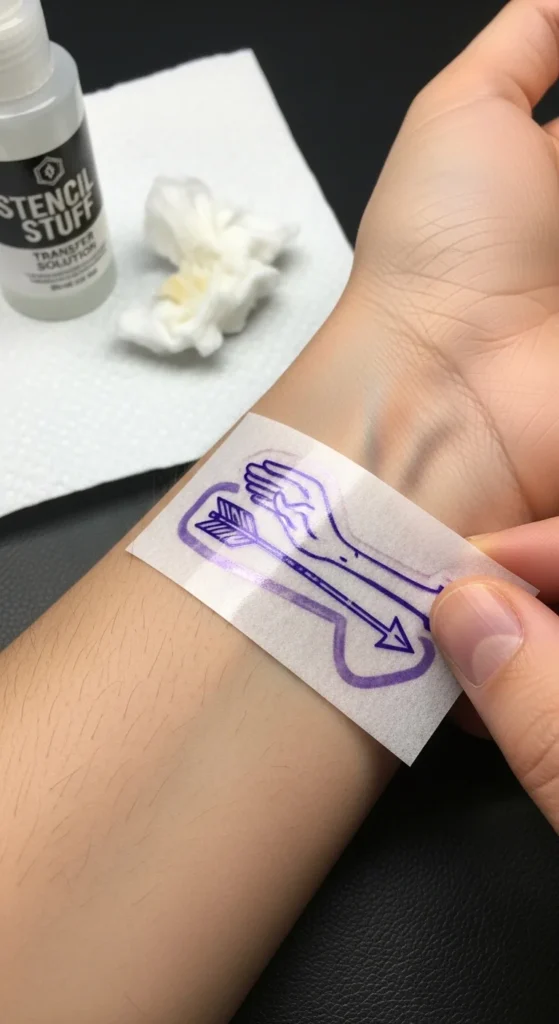
Test Size and Placement Early
An arrow tattoo that looks perfect large might lose impact when tiny.
Before finalizing:
- Shrink your design to 2–5 cm
- Print or redraw it at actual size
- Place it on the body using paper or stencil
Great beginner placements include:
- Wrist
- Ankle
- Forearm
- Behind the arm
These areas suit linear designs and keep arrows visually sharp.
Practice Variations to Find Your Style
The fastest way to improve is repetition with variation.
Try sketching:
- Straight arrows vs. slightly curved
- Single arrows vs. crossed arrows
- Bold lines vs. ultra-fine lines
Fill a page with quick sketches instead of perfecting one. You’ll naturally discover the style that feels most you.
Final Thoughts: Let the Arrow Tell Your Story
Drawing simple arrow tattoos isn’t about perfection—it’s about clarity. With a few clean lines, you can create a design that quietly says something powerful about direction, resilience, or change.
Take your time. Sketch often. Trust simple shapes.
If this guide helped you, save it for later, and keep building your tattoo drawing skills one meaningful line at a time.

Leave a Reply